This section is a hands-on tutorial for installing the Golang development environment and IDE configuration, specifically for Golang newbies. Experienced users may skip this.
Go Development Environment Installation
Step 1 - Download Go Development Package
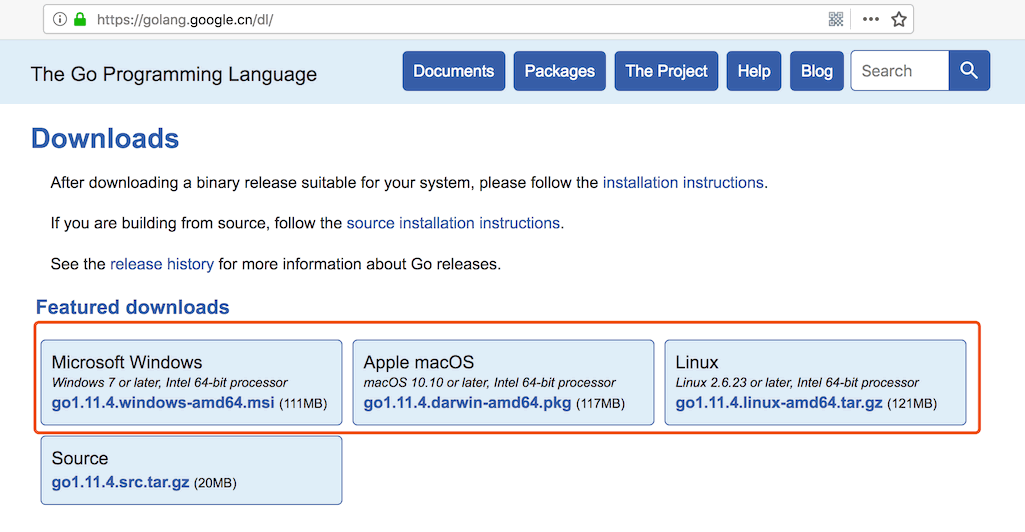
Visit the Go domestic mirror site download page https://golang.google.cn/dl/, and select your current system version from the versions at the top of the page to download the latest version of the Go development package:
Step 2 - Installation Guide
Visit the official installation introduction page https://golang.google.cn/doc/install, and follow the corresponding installation process according to your current system version.
For Windows (msi) and MacOS (pkg), it is recommended to install using the package. The author's current installation process for the MacOS package (pkg) is shown below:
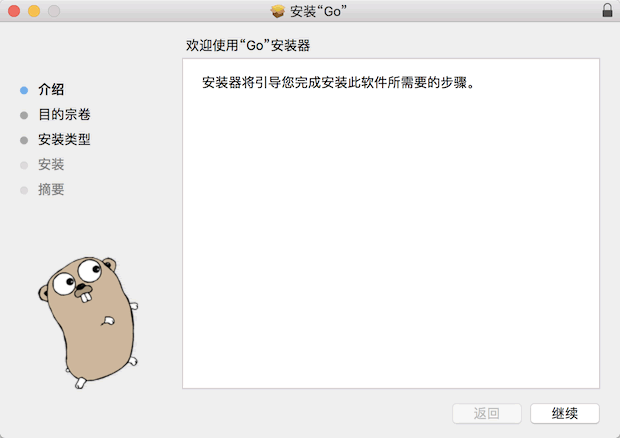
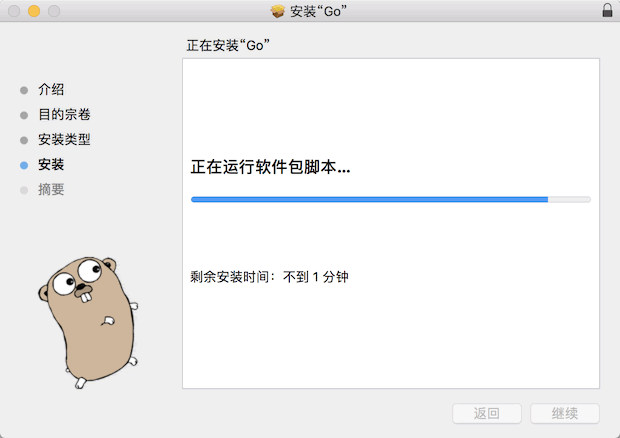
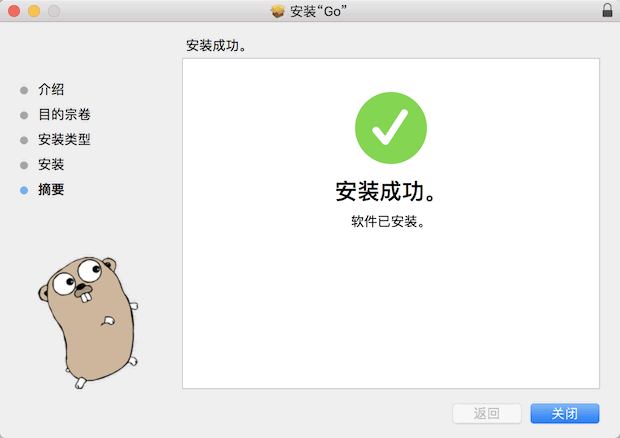
The upgrade process for Go development package is the same.
IDE Development Environment Installation
Currently, there are two popular Go IDEs: VSCode+Plugins (free) and JetBrains's Goland (paid). As JetBrains is also a sponsor of the GoFrame framework, we recommend using Goland as the development IDE. For download and registration, please refer to online tutorials (Baidu or Google).
JetBrains official website: https://www.jetbrains.com
Using Goland
Let's create the first Go program, following the usual convention with hello world.
Step 1. Open IDE

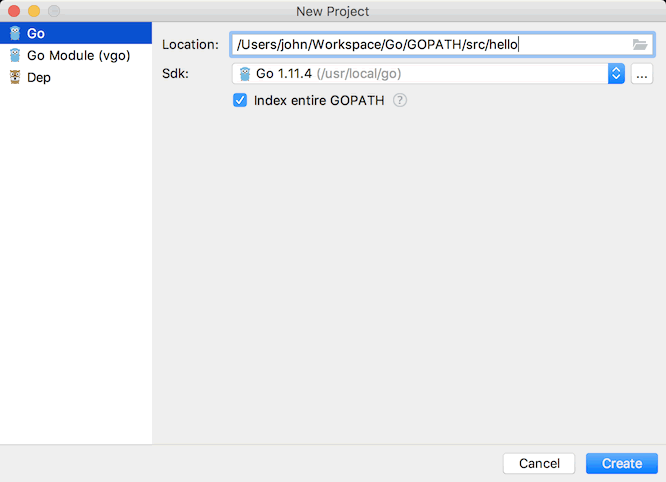
Step 2. Create Project
Note the Go installation file path (SDK), which is thoroughly explained in the official installation documentation, so please read it carefully.
The Location can be any local path you choose.
Step 3. Create Program
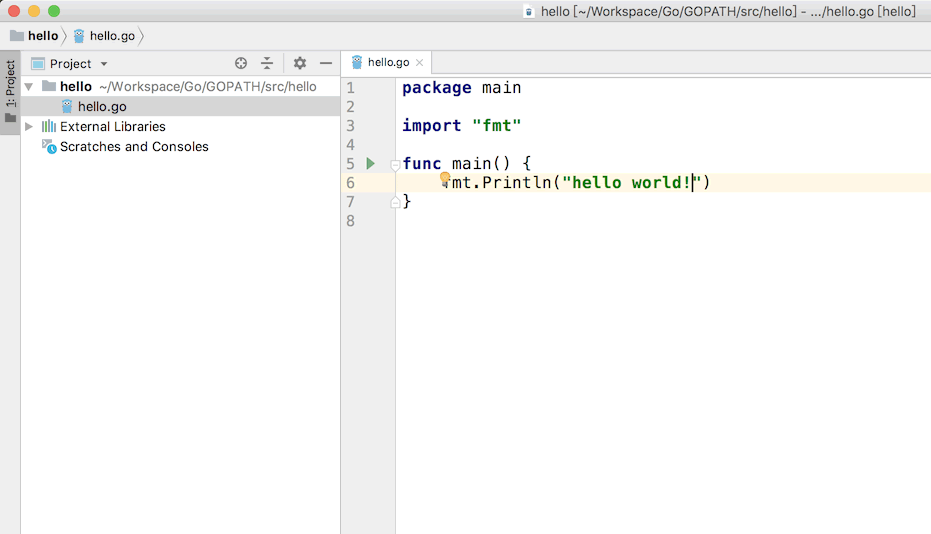
Create a new go file named hello.go and input the following code:
package main

import "fmt"

func main() {
    fmt.Println("hello world!")
}
Step 4. Run Execution
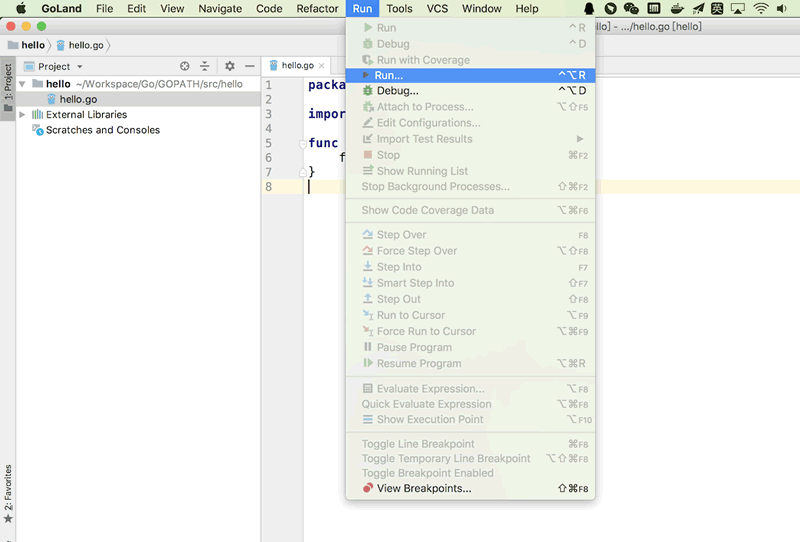
Menu Run - Run - go build hello.go.
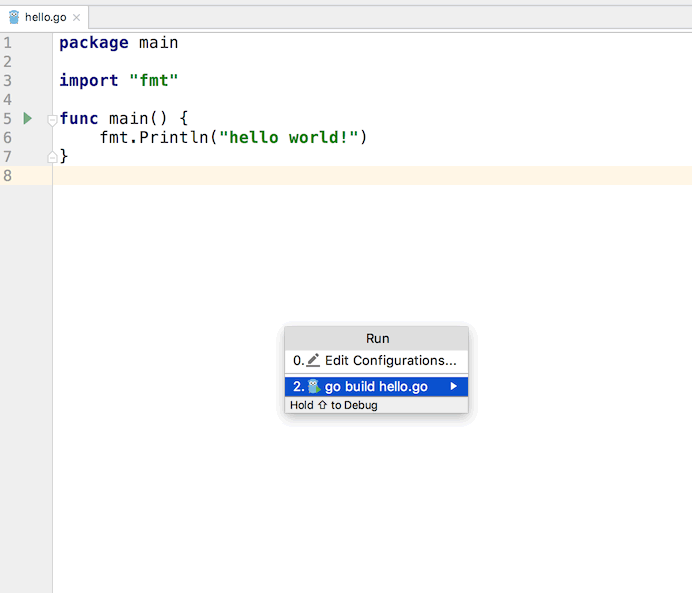
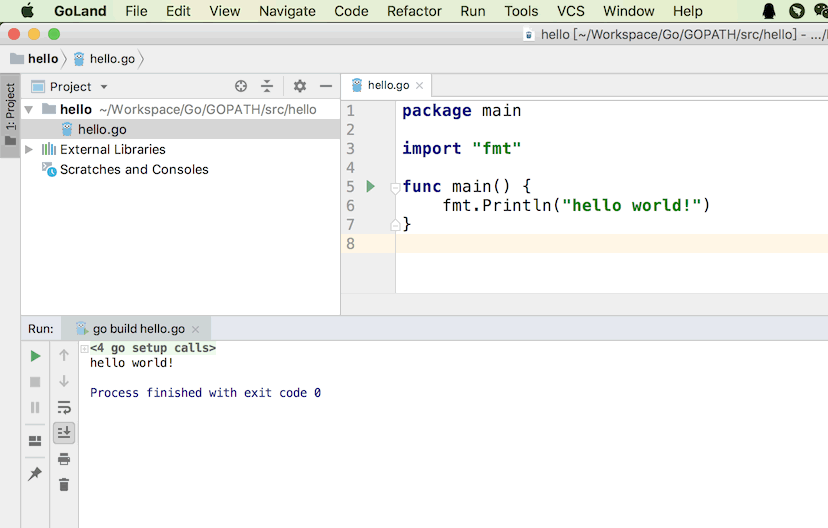
Congratulations, your first Go program is successful!